Launching your own Ethereum token is no longer just a developer’s dream. In 2025, thanks to user-friendly tools, tutorials, and blockchain platforms, almost anyone with a bit of curiosity and determination can create, deploy, and share their token with the world. But the real question is: how do you actually get from an idea to a live token on the Ethereum blockchain? And what challenges and opportunities await once you’ve deployed your first smart contract?
This article will walk you through everything you need to know about how to launch a token on Ethereum, using verified insights from developer resources and real-world blockchain practices. Whether you’re interested in raising funds, building a governance token, or simply experimenting with Ethereum-based tokens, this guide provides clear, step-by-step instructions and practical context.
What are Ethereum Tokens?
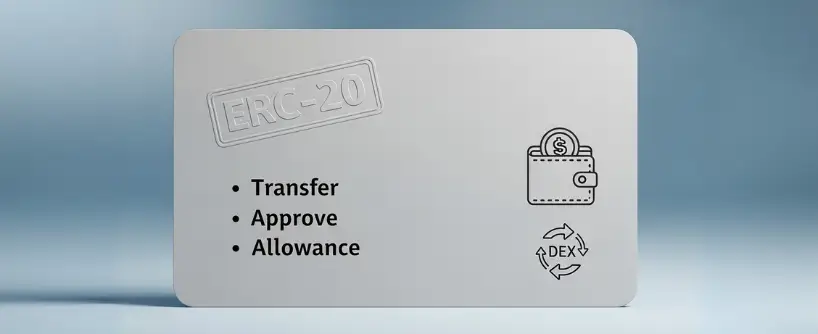
Before we roll up our sleeves, let’s chat about what an Ethereum token really is. At its core, an Ethereum token is a digital asset built on the Ethereum blockchain, representing anything from currency to token ownership rights. Think of it as your custom cryptocurrency or asset within the vast Ethereum network. These aren’t just bits of code; they’re blockchain-based assets that can raise funds, enable transfers, or even govern decentralized projects.
The magic lies in token standards, technical standards like ERC-20, which ensure your token plays nice with wallets, exchanges, and other smart contracts. ERC-20 tokens, for example, are the most popular for fungible assets, meaning each token is identical and interchangeable, just like dollars in your wallet. They support essential functions: checking balances, transferring tokens, and approving spends. ERC-20 defines core functionalities, including:
- totalSupply: how many tokens exist.
- balanceOf: the balance of tokens in a wallet address.
- transfer: the method to move tokens between users.
- approve and transferFrom: ways to delegate transfers.
- allowance: the amount a spender can use from an owner’s account.
Why does this matter? Because without a solid token standard, your creation might not integrate seamlessly into the Ethereum ecosystem, limiting its potential.
Have you ever wondered how many tokens exist out there? Millions, powering everything from DeFi protocols to NFT marketplaces. But creating your own token?
Why Launch an Ethereum Token?
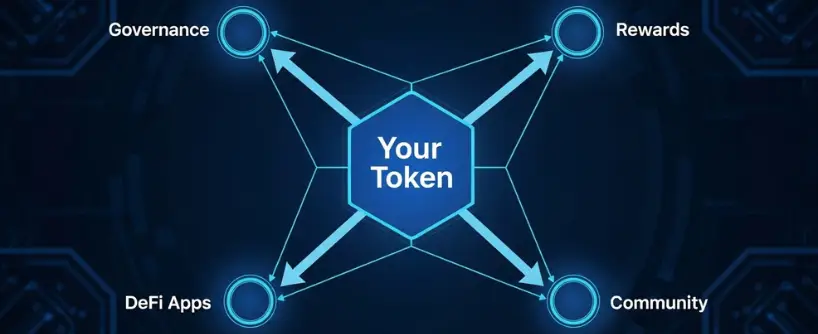
Let’s start with the big picture. Why would anyone want to create their own token in the first place?
Tokens are the backbone of the Ethereum ecosystem, powering decentralized finance (DeFi), non-fungible tokens (NFTs), decentralized autonomous organizations (DAOs), and more. By creating your own token, you can:
- Launch a new project or raise funds.
- Create governance tokens for decentralized decision-making.
- Incentivize communities with digital rewards.
- Experiment with blockchain-based assets and smart contract technology.
In short, tokens allow you to move from being just a user to becoming a creator in the rapidly growing world of digital assets.
Before You Code: The Blueprint of Your Token’s Soul (Tokenomics 101)
A token without a purpose is just a number. Before we write a single line of pragma solidity, we must define the soul of our project. This is called tokenomics – the economics of your token.
Ask yourself:
- What problem does my token solve? Is it a governance token giving holders voting rights? A utility token for a new app? A currency for an online community?
- How many tokens will ever exist? This is your total supply. Will it be fixed, like Bitcoin’s 21 million? Or inflationary, releasing new tokens over time?
- Who gets the tokens? Will you raise funds with a public sale? Allocate a portion to your team? Reward early users?
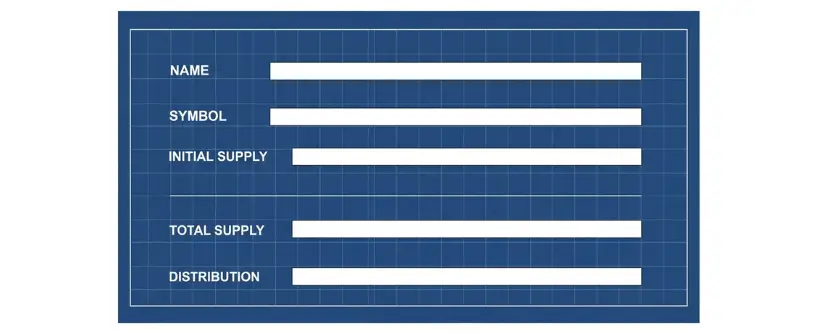
Getting this right is more crucial than any technical step. Your tokenomics is the story you tell your community. Make it a good one. Pick a paper and write down:
- Token name
- Token symbol
- Initial supply
- Total supply
- Distribution model
These choices determine the perceived value, scarcity, and trust in your project.
Setting Up Your Development Environment
Before you can deploy your token smart contract, you’ll need to set up a proper development environment. This process might seem daunting if you’re new to blockchain development, but modern tools have made it more accessible than ever.
Start by installing a code editor and setting up your development workspace. You’ll need access to the command line and should familiarize yourself with basic terminal operations. Don’t worry if this sounds technical – we’ll provide step-by-step instructions that anyone can follow.
The Ethereum network supports multiple development environments, but we’ll focus on the most user-friendly options. Whether you choose to work with Solidity (the programming language for Ethereum smart contracts) or use no-code solutions, the key is starting with a solid foundation.
You’ll also need to choose your target blockchain network. While the Ethereum mainnet is the ultimate destination for most projects, you’ll likely want to test your contract on testnets first. These test networks use worthless test tokens, allowing you to experiment without risking real money on gas fees and transaction fees.
Toolbox for Starting:
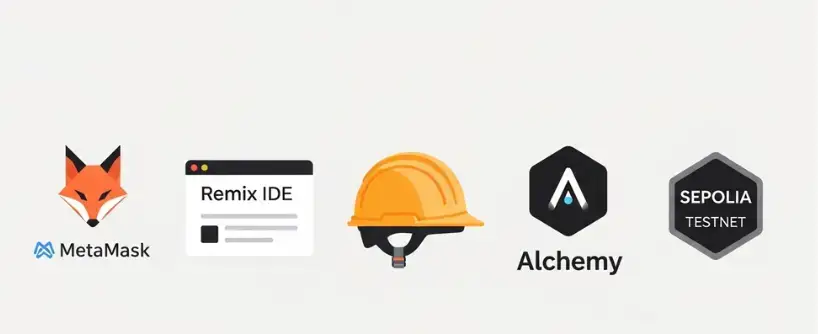
- A Web3 Wallet: This is your account on the blockchain. It holds your digital assets and pays for transaction fees (known as gas fees). MetaMask Wallet is the most popular choice. Install it, create a wallet address, and keep your seed phrase safer than your own life. This is your identity.
- Test ETH: You’ll be deploying contracts, which costs real money on the mainnet. For learning, use an Ethereum testnet like Sepolia or Holesky. Get free test ETH from a faucet (a quick web search for “Ethereum Sepolia faucet” will find one) and send it to your MetaMask wallet.
- A Development Environment: Remix IDE is a browser-based tool perfect for beginners. For more advanced users, tools like Hardhat or Truffle offer greater power. We’ll use Remix for its simplicity.
- Node Provider (Optional but Recommended): While you can connect directly through MetaMask, services like Alchemy or QuickNode provide more reliable connections to the Ethereum network, which is vital for smart contract deployment.
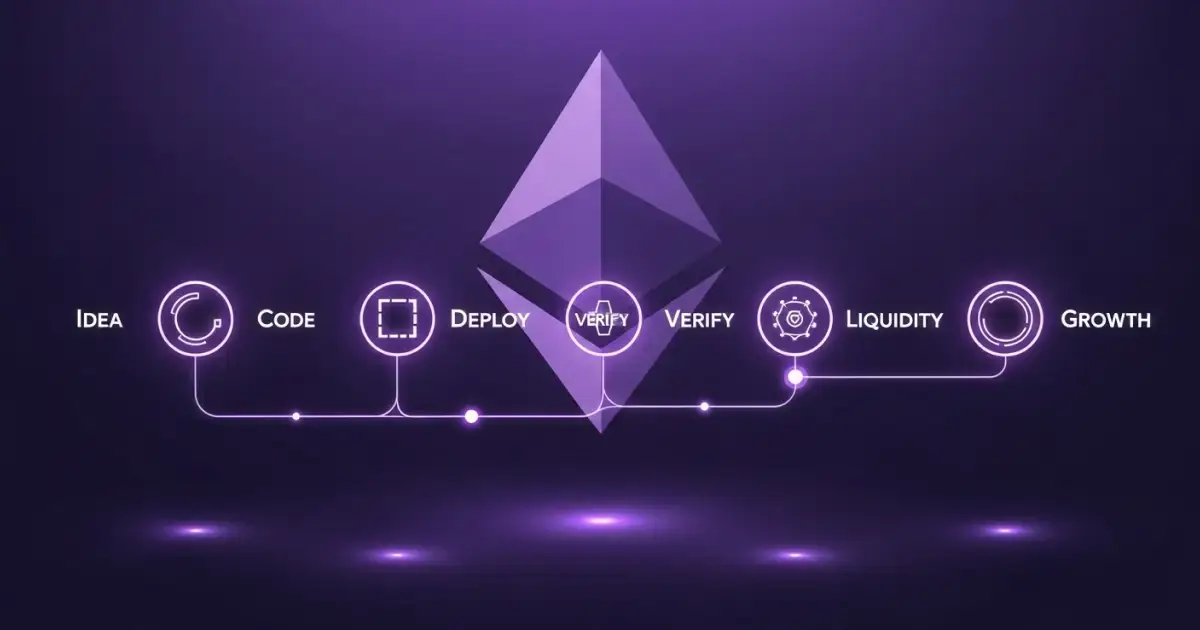
Step 1: Writing the DNA of Your Token (The Smart Contract)
Every ERC20 token is born from a smart contract – a self-executing code that lives on the blockchain. The ERC20 token standard is a set of rules that ensures all tokens can interact seamlessly with wallets and exchanges.
Let’s use a simple, audited contract from OpenZeppelin, a library of secure, community-vetted smart contracts. This is the safest way to start.
- Open Remix IDE.
- Under the “File Explorer” tab, create a new file called MyToken.sol.
- Paste the following code:
// SPDX-License-Identifier: MIT
// Specifies the version of Solidity, the programming language
pragma solidity ^0.8.0;
// Imports the standard ERC20 functions from OpenZeppelin
import “@openzeppelin/contracts/token/ERC20/ERC20.sol”;
// Your token contract inherits all the properties of ERC20
contract MyToken is ERC20 {
// The constructor is called only once when the contract is deployed
constructor(uint256 initialSupply) ERC20(“MyToken”, “MTK”) {
// _mint creates new tokens and sends them to the deployer’s address
_mint(msg.sender, initialSupply 10 * decimals());
}
}
What does this code do?
- “MyToken” and “MTK” are your token name and token symbol. Change these to your own!
- The constructor runs once on deployment. It takes an initialSupply parameter.
- _mint(msg.sender, initialSupply…): This creates the initial supply of tokens and sends them all to the wallet that deploys the contract (msg.sender). The 10 ** decimals() part is because Solidity doesn’t handle decimals; this ensures your tokens are divisible to 18 decimal places, just like ETH.
This is the minimalist blueprint. You can add features like minting, burning, or governance later!
Step 2: The Moment of Truth: Deploying Your Token Contract
This is the magic. You’re taking your code and making it a permanent, immutable part of the Ethereum blockchain.
- In Remix, go to the “Solidity Compiler” tab (icon looks like a little S). Compile your MyToken.sol file.
- Now, go to the “Deploy & Run Transactions” tab (icon looks like an Ethereum logo).
- Under “Environment,” select “Injected Provider – MetaMask”. This will connect Remix to your wallet. Confirm the connection in MetaMask.
- Ensure your account in Remix is the one with the test ETH.
- Next to the “Deploy” button, you’ll see a field for the initialSupply. This is where you decide how many tokens to create. Remember, the code multiplies this by 10^18. So, if you want 1,000,000 total tokens, enter 1000000.
- Click “Deploy”.
MetaMask will pop up asking you to confirm the transaction and pay the gas fees. This is the certain amount of ETH required to process your transaction on the network. Confirm it.
Wait a moment… and congratulations! You’ve just deployed your token smart contract. Your token instance now lives at a unique token address on the blockchain. Remix will show you this address in the “Deployed Contracts” section. Copy it and save it!
Step 3: Seeing is Believing: Verifying Your New Token
Your token exists, but your wallet doesn’t know about it yet.
- Open your MetaMask wallet.
- Click “Import tokens.”
- Paste your token address into the field. The token symbol and decimals should auto-populate.
- Click “Add Custom Token.”
Voilà! You should now see your brand new tokens sitting in your wallet, with the total supply you created. You can now use MetaMask to transfer tokens to any other wallet address!
Gas Fees and Deployment Costs: What to Expect
One of the most important considerations when launching an Ethereum token is understanding the associated costs. Smart contract deployment costs can range from $500 for basic contracts to $50,000 for complex ones.
Gas fees represent the computational cost of executing operations on the Ethereum network. When you deploy your contract, you’re paying validators to process your transaction and include it in a block on the Ethereum network. Transaction fees are calculated based on network demand and typically range between 5 – 200 gwei (though they can spike higher during congestion).
The size of your contract significantly impacts deployment costs. A simple token with basic functionality requires less gas than a complex contract with advanced features. Each additional function, modifier, and variable increases the deployment cost.
To optimize costs, consider deploying during periods of lower network congestion. Gas prices fluctuate based on demand, so timing your deployment strategically can save significant money. You can monitor current gas prices using various online tools and wait for optimal conditions.
Your wallet must have enough balance to cover the deployment costs. This includes not just the contract deployment but also initial setup transactions like setting token parameters and transferring initial tokens to your wallet address.
Liquidity Provision: Making Your Token Tradable on Decentralized Exchanges
Your token is live, but without liquidity, it’s like a party with no guests. Liquidity provision means adding your tokens and ETH to a pool on decentralized exchanges like Uniswap, allowing others to buy and sell seamlessly.
Start by approving your token contract to spend tokens on your behalf. Then, create a liquidity pool: Pair your ERC-20 token with ETH, deciding how many tokens and what value to add. This sets the initial price based on the ratio.
Why bother? It enables users to trade without you as the middleman, boosting adoption. Provide more tokens as needed to maintain balance. Note: This incurs gas fees, so start small on testnets. With liquidity, your token gains real-world utility. But how do you get the word out? Marketing is our next stop, keep going to learn promotion strategies.
Token Marketing and Growth
Token marketing begins long before your technical launch. Building anticipation and community around your project is crucial for long-term success. Social media, content marketing, and community engagement are essential components of any successful token launch.
Start by clearly communicating your project’s value proposition. Why does your token exist? What problem does it solve? How does it benefit holders? These fundamental questions should have clear, compelling answers that resonate with your target audience.
Engage with the broader cryptocurrency community. Participate in relevant forums, social media groups, and blockchain events. Building relationships within the ecosystem can lead to partnerships, integrations, and organic growth opportunities.
Consider implementing reward programs or airdrops to incentivize early adoption. Many successful projects have used strategic token distributions to bootstrap network effects and create initial user bases.
Transparency is crucial in crypto space. Regular updates, clear communication about token development progress, and honest discussion of challenges help build trust with your community. Consider publishing regular development updates and maintaining active communication channels.
The Path to Exchanges
Centralized exchanges (CEXs) like Bitunix, which support Ethereum-based ERC-20 tokens, can further expand your project’s reach once it gains traction on decentralized platforms. This requires applications, fees, and often a large, active community. It’s a significant milestone for any project.
Conclusion: Security, Responsibility, and The Future
With great power comes great responsibility. The Ethereum blockchain is immutable. If there’s a bug in your contract after deployment, it can’t be fixed. You could lose funds or see them locked forever.
- Always test extensively on testnets before going live.
- Get a professional audit for any contract you plan to use with real value.
- Understand the regulatory landscape in your jurisdiction.
Launching a token isn’t just about token creation; it’s about building trust, community, and value. The Ethereum blockchain provides the infrastructure, but it’s your tokenomics, marketing, and vision that give your token life.
So, are you ready to take the leap and deploy your own ERC-20 token? With the right technical standard, a clear plan, and enough ETH for gas fees, your idea can become a real, tradeable Ethereum token.
FAQs
How many tokens can I create with an ERC-20 token contract?
You can define the total supply during deployment, and depending on your tokenomics, you may allow minting of more tokens later.
Do I need technical knowledge to launch a token on Ethereum?
Not always. With no-code platforms and token generators (like OpenZeppelin Wizard or Thirdweb), you can launch a simple ERC-20 token without writing code. However, for custom features and advanced projects, basic Solidity and smart contract knowledge is essential.
Can I list my Ethereum token on cryptocurrency exchanges?
Yes, once your token contract is verified, you can provide liquidity on decentralized exchanges and later approach centralized cryptocurrency exchanges.
What wallet should I use to store and transfer tokens?
Popular options include MetaMask wallet and Coinbase Wallet, both of which support Ethereum-based tokens.
What are transaction fees when deploying contracts?
Gas fees vary depending on network activity; ensure your wallet has enough ETH to cover deployment and future transfer token operations.
Disclaimer: Trading digital assets involves risk and may result in the loss of capital. Always do your own research. Terms, conditions, and regional restrictions may apply.


